
A nightstand makeover: How I turned two dated thrift store nightstands into beautiful bedroom furniture.
On an evening trip to town, I was determined to find inexpensive nightstands for our master bedroom. For our entire married life, we have never had an official nightstand, although we have used a bookshelf or dresser to keep a lamp near our bed. Since we’ve been focusing quite a bit of time on our master bedroom this fall and winter, I decided it was time to get something with drawers that allowed us to keep our random items like Bibles and phones out of sight. I am always looking for ways to reduce visual clutter, but still keep what we need close at hand.
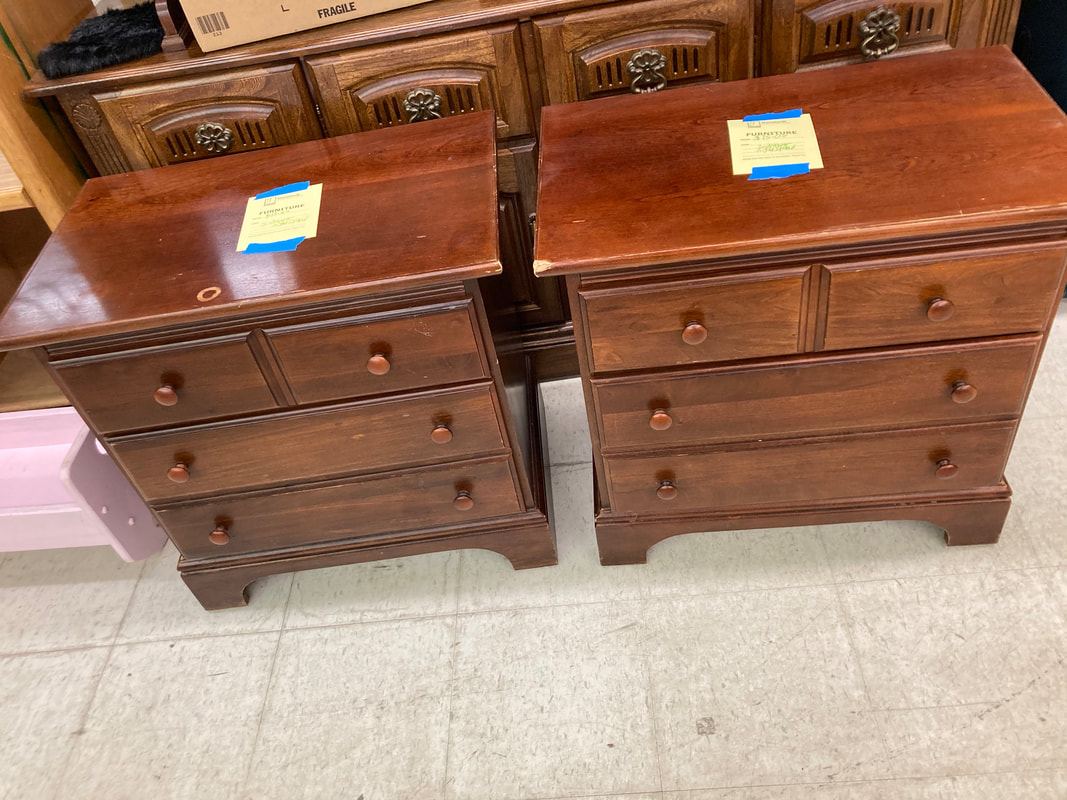
Since I didn’t want to pay for new, I thought I would search some of our local flea markets and second hand stores, but figured I would have a pretty hard time finding a matching set. By an act of providence, not long into my search I went into Goodwill and saw a set of matching nightstands. What a joyful surprise! I snatched up the tags and headed to the register. My trip had been successful…or so I thought.
Bringing the Nightstands Home
After bringing the nightstands into the house it became quickly apparent that they were not going to work in our master bedroom. There was only enough room to open the door…IF the second nightstand was pulled out from the wall past the headboard, and pushed against the mattress. It sure was sure nice to have a nightstands with drawers for the few days it lasted, but I knew that couldn’t be their permanent home. Since we were in the middle of a whole house bedroom refresh, I hoped we would find a place for them in one or the kids rooms. About a week later, we finally had sufficiently finished renovations on our basement bathroom and bedroom to move the kids into their own rooms.
Throughout the furniture moving process the biggest question was what to do for dressers. Our daughters had been sharing a room and were now getting their own. Because none of our bedrooms are very big (hence the reason the nightstands didn’t fit in the master) the dresser in the girls room was very small and we had kept it in the closet. This however, left little room for hanging the ever-getting-taller dresses. The little dresser and wardrobe moved into our youngest daughters room, which left us in need of something for our oldest daughter to keep her clothes in.
so…we moved the nightstands to our daughters room and they fit PERFECTLY, one on each side of her bed!
Before we moved the kids into their own rooms, I had talked with each of them about what they wanted their rooms to look like. Did they have any colors they wanted? Which furniture did they prefer? My oldest daughter had said she wanted pink, white, and gold. The girls room was already pink and cream, so this was perfect news. We could use a lot of what we already had on hand! Since both girls wanted pink rooms, I’ll be able to switch things back and forth between the two rooms as needed to freshen the look now and then.
The Makeover
When I bought the nightstands, I had every intention of painting them. Both to fit my aesthetic, and because there was some damage to the finish. Since I’m increasingly drawn to neutral tones and whites for our house, I chose Revere Pewter by Benjamin Moore for this project. (I didn’t want white since we already had a white bed wrought iron bed frame and comforter going into this room.) Revere Pewter is a light neutral greige, and thankfully, I had just enough paint left over from the main living that I could use it for this project.
Nightstand Makeover: Step by Step
Supplies
Nightstands
Paint (I used Revere Pewter in Eggshell finish)
Rub N Buff (I used Antique Gold)
Small Artist Paintbrush
Small Roller
Paintbrush (I used a 1 inch angle brush)
Step One: Prep & Sand
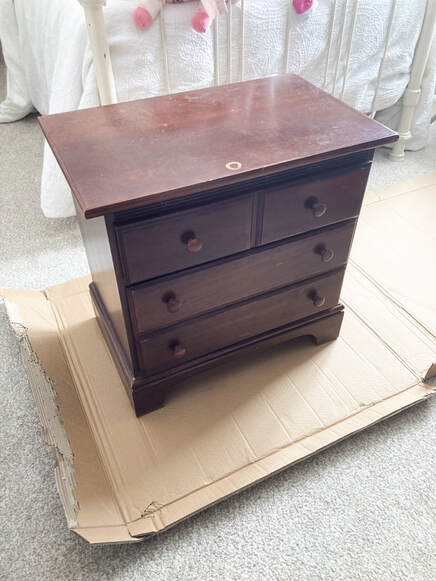
As I prepared to paint the nightstands, first, I pulled them out into the center of the room. Then, put a large piece of cardboard underneath them to catch any paint drips. I washed both of them well and removed the knobs. A light sanding with a fine grit sandpaper probably would have been wise, but prep is my least favorite step, so I skipped it. If I could go back, I would NOT skip this step! After several months the paint did not hold up as well as it could have to avoiding scuffs.
Use an orbital sander or sanding block to dull the glossy finish. Then, wipe with a damp cloth to remove any dust.
Step Two: Prime
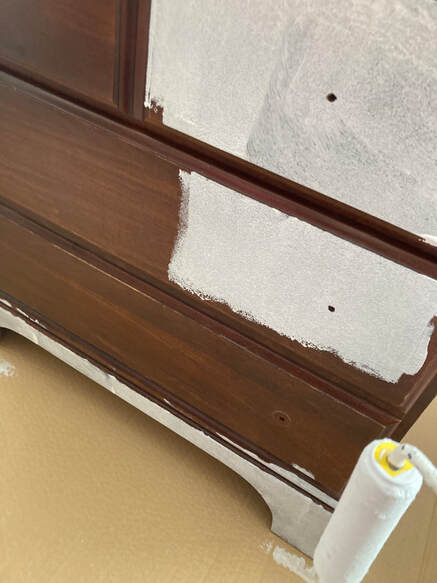
Even though I hate prep work, I have learned to start off my painting projects with a coat of primer. Zinzer interior primer has been my go-to, and provides the bonding needed between the glossy finished wood and the new paint.
For this project I used a small roller and a paintbrush to apply a single coat of primer.
Step Three: Paint
After letting the primer dry, I added two coats of an interior latex paint in an eggshell finish. The first coat I applied in an afternoon, and the second coat the next morning. Both with a small roller and brush.
For smaller touchups on areas that needed additional coverage I used a small artist paintbrush after the second coat had dried.
Step Four: Knobs
Since my daughter wanted gold accents, I selected Rub N Buff in antique gold as my “paint” for the original wooden knobs. It’s actually a unique wax based finish, that can also add beautiful texture depending on the method of use. I couldn’t believe how hard it was to come by in our area, so I had to order it online.
I painted the knobs in two steps with a small artist brush. First, I covered the face and around the sides so I could hold the knob by the shaft. A short dry time later, I painted the shafts and allowed them to dry overnight on a piece of old cardboard.

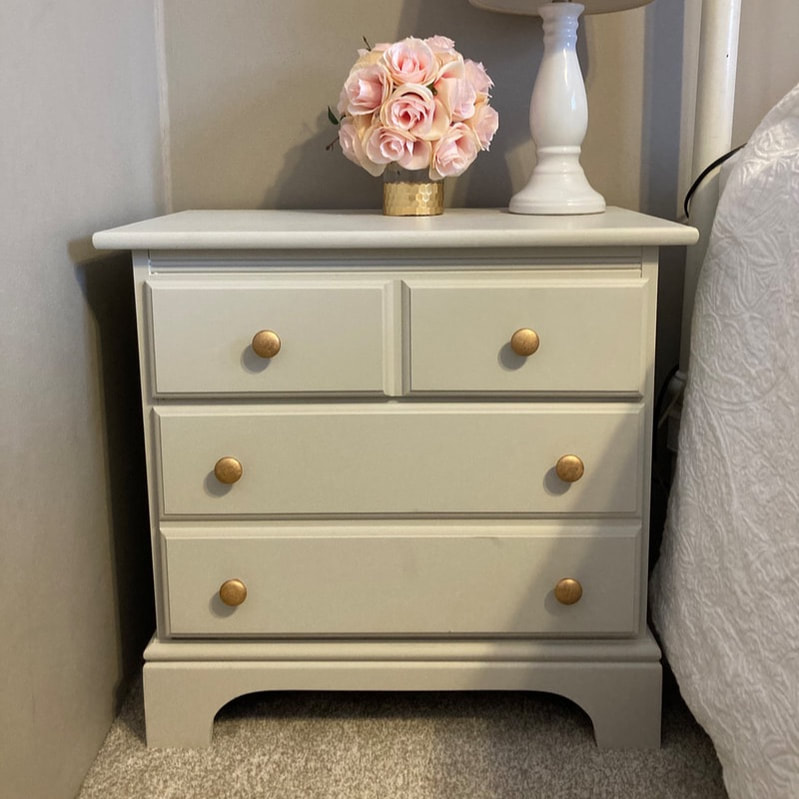
After assembling the pieces again, the project is done! A simple nightstand makeover that took these nightstands from Goodwill to glam.
Total Nightstand Makeover Project Price: $36 for two nightstands
Nightstand Makeover
Leave a Reply