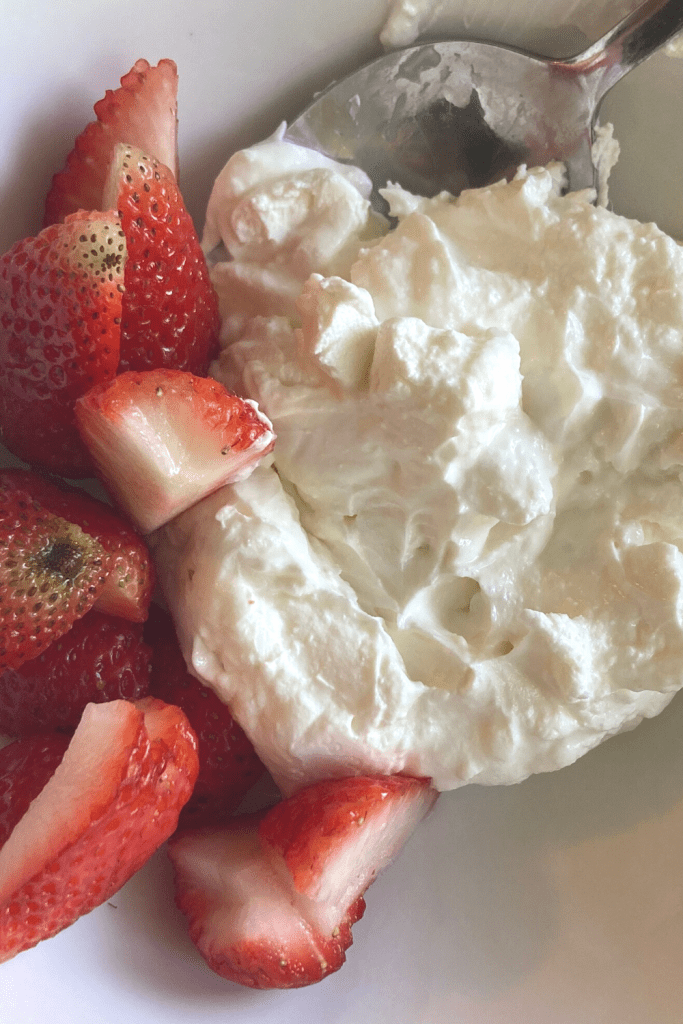
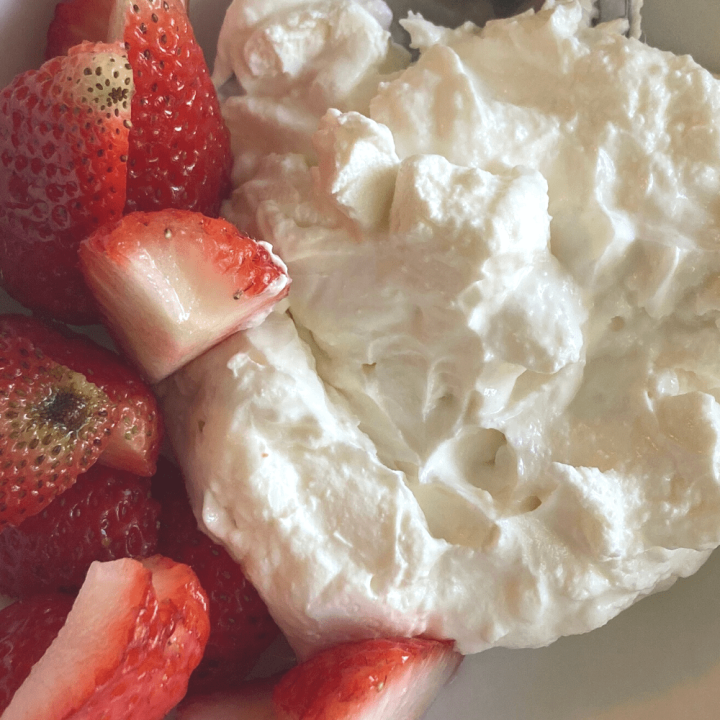
My favorite thick and creamy homemade greek yogurt can easily be made in the Instant Pot from only two ingredients.
The ability to make my own greek yogurt has been one of my favorite things about owning an Instant Pot.

I’ve never been a big yogurt eater. Growing up it was not a staple in our diet, and honestly most of my life I’ve seen yogurt as a sugary kin to ice cream. I still believe this is true about many of the yogurts on the market which are filled with gums and thickeners, sugar or artificial sweeteners, and a whole host of flavors real or added. I’m discovering about myself how often I’m a “plain” flavor person who prefers a food in it’s original form without added frills.
My Beginnings with Greek Yogurt
In college I began eating plain unflavored unsweetened Greek Yogurt from time to time. I do believe in the beneficial probiotics and good fat and protein in yogurt, but so often the available plain yogurts can be quite sour. I just didn’t love the taste. Using it as a substitute for sour cream or in a dill dip was fine, but I’d never want to sit and eat a whole bowl of plain greek yogurt.
Then I bought and instant pot and learned how to make yogurt myself. The flavor was much better, and I was similar priced or even cheaper than what I could buy at the store. It took me a little longer to learn that properly straining my yogurt produced a thick, creamy, delicious end result.
How it Works
The basic premise of making greek yogurt is culturing a probiotic bacteria strain in milk. As the milk ferments and is eaten by the probiotics, it changes the composition to make the thickened milk product we call yogurt. Keeping the milk at the right temperature for a certain amount of time encourages those bacteria to reproduce and multiply, which ultimately will give you those gut benefiting properties when you eat it.
Choosing Your Milk and Culture
Milk
It is important to get the right type of bacteria growing in your milk. You don’t want to be culturing the wrong thing, which could make you sick. Ultra pasteurization means that everything in the milk has been killed (good and bad). It’s essentially shelf stable….like the boxed milk you can buy on a supermarket shelf. Shelf stable milk is still a weird concept to me, but with this milk you can be confident the bacteria you are culturing is the one that you have introduced. This type of milk is what I was told to use when I first started. Unless I go to raw farm fresh milk to make yogurt in the future, it’s the route I’m planning to continue going.
Culture Greek Yogurt
What type of culture you start with will dictate the end product. There are many strains of good bacteria, and different probiotic supplements or yogurts may contain different ones.
That being said, different starter cultures, and even different brands or quality or milk can affect the texture or flavor of your homemade greek yogurt.
I prefer to use Chobani plain greek yogurt as my starter culture. For the yogurt base I choose an organic whole milk that has been ultra-pasteurized. I like using Organic Valley Milk or the Sam’s Club brand which comes in a two pack of half gallons. Sometimes, I have used other brands of A2/A2 milk or whatever milk I’ve found on quick sale or clearance.
I don’t notice as much difference in the milk I use as I do in which yogurt I use as my starter.
How I Culture My Greek Yogurt
The process of culturing the yogurt is really simple. My method involves whisking a large spoonful of a starter greek yogurt to 1/2 gallon of whole organic milk. For my starter I purchase a single serving size of plain greek Chobani, and use about 1/3 of the container per batch. I keep the remainder in the fridge until I’m ready to make another batch of yogurt.
I have tried using the last bit from a previous batch, or other ways to try introducing a culture, and at this time the purchased yogurt has proved most reliable. To me, it’s not worth possibly having to waste a whole batch that didn’t set up or turn out as expected. So I stick with my tried and true for now.
First, I whisk the ingredients together in my Instant Pot, place the lid, and press the YOGURT button. Mine is already programed for an 8 hour incubation time. That’s really it, then I can away and come back when it’s done. The incubation time can be adjusted to be slightly shorter (I’ve done as little as 7) or longer based on your desired tastes. The longer a batch incubates the more it develops the sour flavor, so I keep mine on the young side. I typically start a batch in the morning, finish it up around supper, allow it to strain through the evening. Then, before bed I put it in the fridge for breakfast the next day.
What Makes it Greek Yogurt?
The biggest difference, from my understanding, from plain yogurt to greek style yogurt is the straining. Greek yogurt is made thick by removing liquid rather than gelling it by adding thickeners. Many yogurts on the market achieve a thicker creamy texture by adding fillers. Greek yogurts are sometimes made from milk that has been evaporated or somehow concentrated with less water. Another method is straining the whey and liquid off the yogurt at the end. This is how I prefer to do it.
Straining the Whey
After I culture my milk, I pour the yogurt into a colander lined with a fresh flour sack towel. I choose to do this over a large bowl so I can catch the whey for other uses, but you could let the whey drain down the sink.
After the initial whey has strained out, I tie up all four corners of the towel and hang the yogurt to drain for several more hours, maybe even overnight if I took the batch out late. We recently put in a high kitchen faucet which works perfectly for this. I’ve also seen people hang their yogurt off upper cabinet handles or other hooks. You could just keep it in the colander, but I’ve found the greek yogurt strains better if I hang it. This gives maximum surface area for the whey to push through and the weight of the yogurt itself helps press the whey out. I’ve also seen yogurt strainers for sale, but I don’t see any need for one of those.
Wondering what to do with the excess whey? Try my Whey Pancake recipe!
Homemade Greek Yogurt in the Instant Pot
Ingredients:
- Several tablespoons of plain starter yogurt
- 1/2 gallon of organic whole ultra-pasteurized milk
Directions:
In the clean stainless steel bowl of your Instant Pot, whisk together several tablespoons of starter yogurt and 1/2 gallon of milk.
Next, attach the lid of the Instant Pot.
Then, press the yogurt setting button (adjust timer to 8 hours, if needed)
After 8 hours, turn off the Instant Pot.
Line a colander with a clean flour sack towel, and set over a large bowl.
Then, pour the yogurt into the colander and allow the whey to strain into the bowl.
After initial strain, tie up the 4 corners of the towel, and hang the yogurt to strain for several more hours. The longer you strain, the thicker the yogurt will be.
Use a rubber spatula or spoon to remove the yogurt from the towel into an air tight container.
Refrigerate.
Pin It For Later


Greek Yogurt in the Instant Pot
My favorite thick and creamy homemade greek yogurt can easily be made in the Instant Pot from only two ingredients.
Ingredients
- Several tablespoons of plain starter yogurt
- 1/2 gallon of organic whole ultra-pasteurized milk
Instructions
- In the clean stainless steel bowl of your Instant Pot, whisk together several tablespoons of starter yogurt and 1/2 gallon of milk.
- Next, attach the lid of the Instant Pot.
- Then, press the yogurt setting button (adjust timer to 8 hours, if needed)
- After 8 hours, turn off the Instant Pot.
- Line a colander with a clean flour sack towel, and set over a large bowl.
- Then, pour the yogurt into the colander and allow the whey to strain into the bowl.
- After initial strain, tie up the 4 corners of the towel, and hang the yogurt to strain for several more hours. The longer you strain, the thicker the yogurt will be.
- Use a rubber spatula or spoon to remove the yogurt from the towel into an air tight container.
- Refrigerate.
