
This post gives instruction on how to update my felt doll baby pattern to include magnets.
Find the free download PDF pattern, supply list, and instructions in the original post.
Supplies
- One 6×2 mm rare earth magnet
- Pattern and supplies for a felt doll baby (Find them HERE)
- Embroidery Floss
Begin Sewing
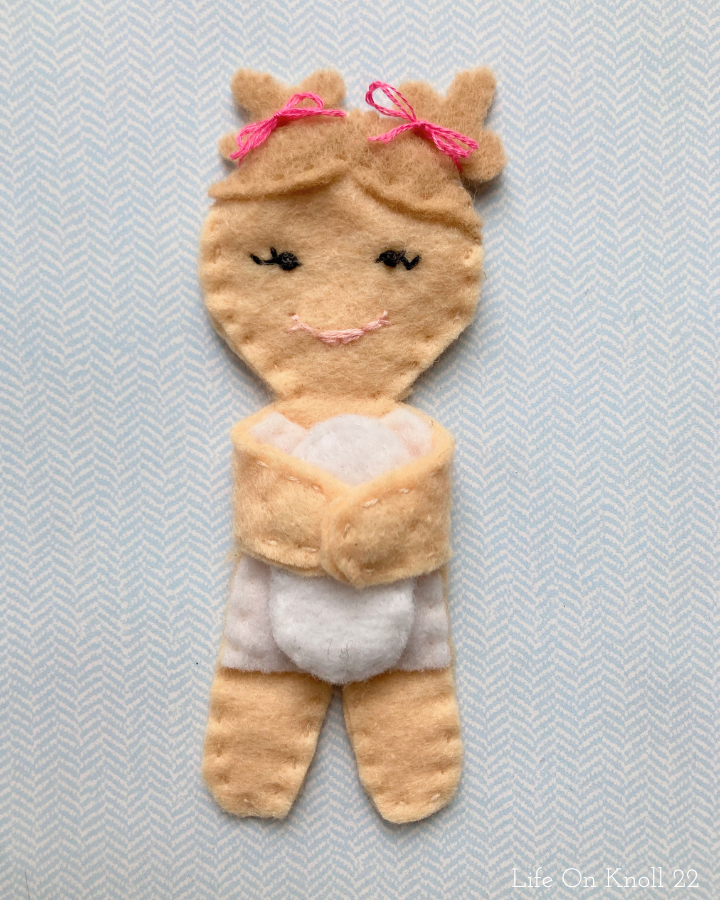
Begin by sewing the top baby body panel pieces together, as instructed in the original pattern. Complete the face details and attach it to the baby body bundle (oval). When it is time to sew the two baby body bundles together (STEP FOUR) be sure to follow the changes below.
Sew at least half way around the baby body (final part of STEP FOUR in the original tutorial).
Add the Magnet
Once you are getting close to finishing, before you close it all the way up and tie off, insert a magnet in between the two baby body bundles.
Check the Polarity
Since magnets have positive and negative ends, be sure the desired side of the magnet is pointing “up” or your accessory (in this case the baby) may repel instead of attract (or attach to the back of the hand).
Test which side of the magnet you want facing “up” for proper attachment to your adult felt dolls. It is important to keep consistent polarity among all your dolls and accessories if you want them to all interact the same way. To do this, always insert your magnet with the same side (positive or negative, doesn’t matter which) facing up in EVERY pattern.
With the felt doll baby there is enough room inside it’s body chamber that you can flip the magnet around even after the project is complete. If you accidentally put it in the wrong way, don’t worry, it can be fixed without tearing your seam out.
Close It Up
After inserting the magnet, finish sewing the remainder of the distance around the baby body bundle and tie off. Secure any loose ends.
You’re now ready to play!
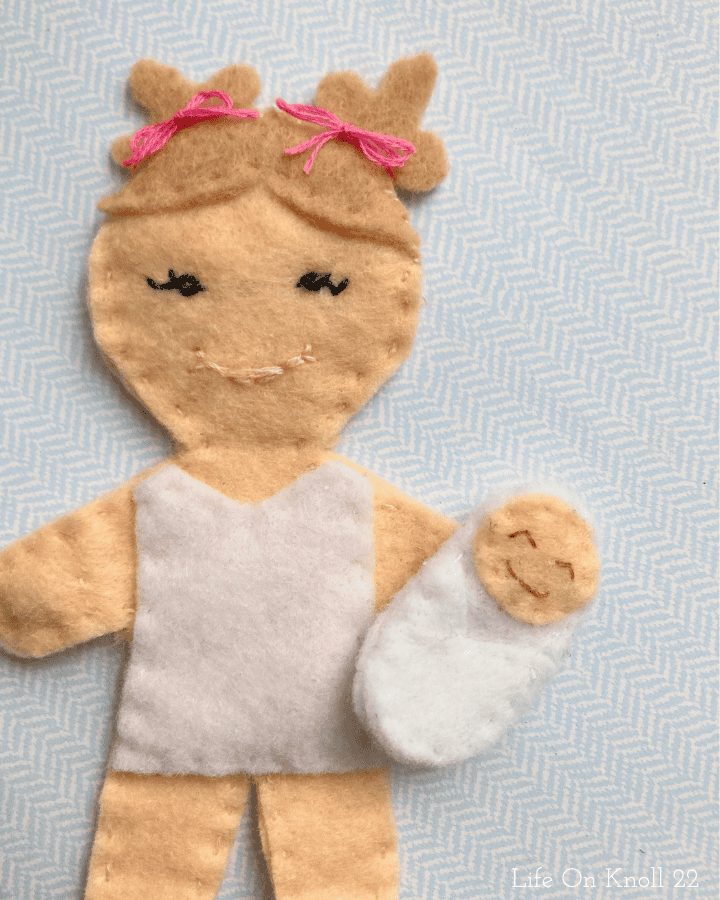
The doll above is holding a magnetized baby in a hugging position with the use of magnets in both hands.


Leave a Reply