
These felt doll children are a miniature version of my popular felt doll pattern. Complete the family with these adorable littles ones!
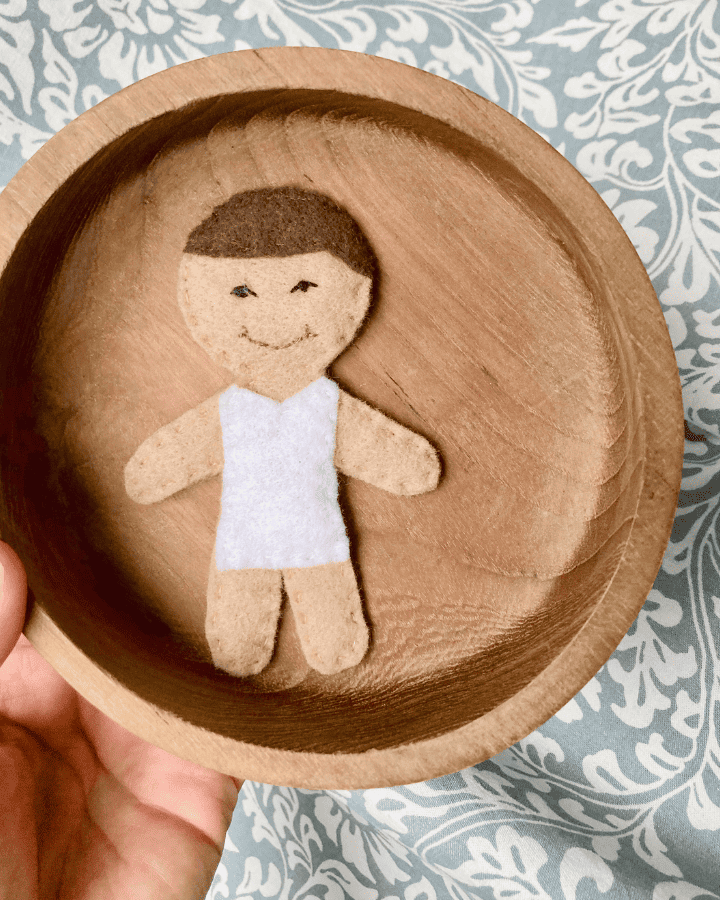
The Original
My original felt dolls pattern and tutorial has been my most successful post on Pintrest and on my entire blog. Can you believe it! What better way to create the ultimate felt doll collection than to design an entire family?
My children love playing families, and while normal size dolls are great in and of themselves, having children and babies …well that’s extra special. If I was going to offer a standard size felt doll pattern, then a minature “child” size felt doll pattern was certainly in order.
The wait is finally over, and the child size doll pattern is finally here. I hope you enjoy creating happy little felt doll families for your little ones to enjoy.
Interchangeability
I designed the felt doll child to coordinate with the original doll. Their heads are the same size, so you can use any hair patterns that you will find with my other patterns. If you haven’t already downloaded and printed the standard doll with basic hairstyles you can do that HERE.
The child pattern also uses the same shorts template as the standard dolls, except they fit as pants, not as shorts. Clothing patterns are available HERE.
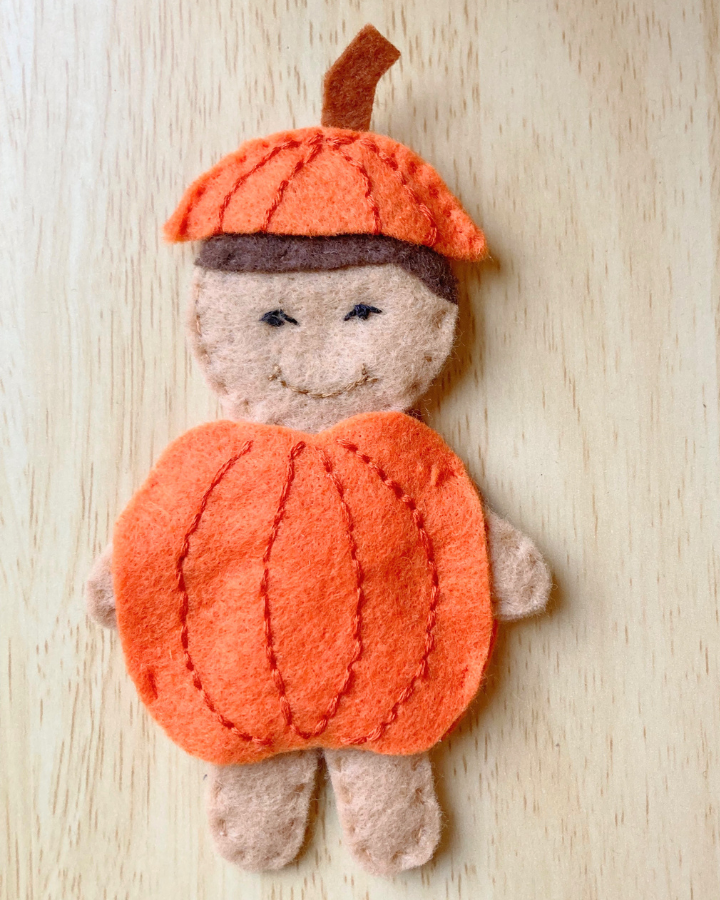
Many other accessories and clothing will fit interchangeably between the standard felt dolls and the felt doll child, so feel free to mix and match. Specific clothing to the felt doll child is included on the PDF pattern download aswell.
Felt Doll Child Tutorial
Step One: Gather Supplies For The Felt Doll Child
- assorted colors of felt
- embroidery floss
- hand sewing needle
- sharp scissors
- felt doll child PDF pattern
- felt doll PDF pattern (for hairstyles – optional)
Begin by printing off the PDF child doll pattern found through the link at the bottom of this post. If you want to include a heart (optional) and hairstyle, you will need to print them HERE.
Gather the necessary supplies. Cut out the paper patterns for the doll child body, bodysuit, and desired hairstyle.
Step Two: Cut the Felt Pieces
Trace the patterns onto your selected colors of felt, and cut the felt pieces out using a sharp pair of scissors.
You will need two body panels, a front and a back. If you’d like to double stack the body before cutting, you may do that, but I recommend cutting all the other pieces one at a time.
For the hair you can select from the 8 available hair templates. Four hair pieces are designed for the front of the doll, and are denoted with a (F) on the pattern. The other four are designed to attach to the back of the doll, and are denoted with a (B) on the pattern.
Step Three: Attach the Bodysuit
Thread your needle with a single strand of white embroidery floss.
I like to thread my string through the eye of the needle, and then bring both ends together into a knot. This makes the stitches two strands thick and ensures beginning sewers won’t pull the needle off as they go.
Begin by inserting your needle from the backside of the body panel to hide your knots and ends.
Attach the body suit to the front body panel by stitching around the entire edge with a running stitch, then tie off and cut your string.
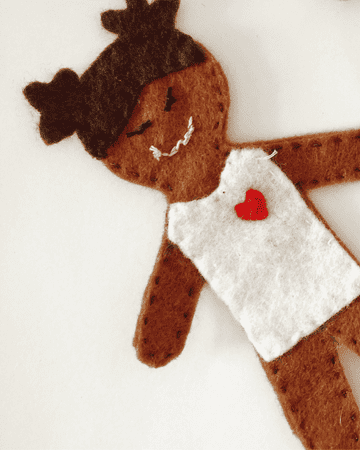
Next, place the felt heart (optional) on top of the white bodysuit and attach in a similar manner using a coordinating floss color.
Step Four: Hair
Begin by threading your needle with a color of floss that coordinates with your felt hair pieces. Attach the front hair piece (F) to the top body panel using a running stitch.
Similarly, if you have chosen a back hair piece (B), attach it to the back of the back body panel. You do not have to use a back hair piece for short hairstyles, but I like the look of hair on both sides. It is necessary for longer hairstyles, such as pig tails, to use a back panel to achieve the desired look.
By attaching the hair pieces the their respective sides before sewing the two body panels together, we can hide all the loose string ends and knots inside the body panel “sandwich”. The same is true with the facial details.
Step Five: The Face

Using 3 strands of black embroidery floss, tie a french knot to make eyes on the head of your front body panel. You can add other eye details such as eyebrows or eyelashes as desired. Then, add a mouth using 3 strands of light brown embroidery floss. I think the neutral mouth is perfect for a childlike face. I use a backstitch for the mouth, but you can choose whatever stitch you are comfortable with. The original pattern has a basic eyes and smile, but you can elaborate and try different looks as you feel comfortable The more strands you use the more distinct the facial features will be.
Step Six: Sew the Felt Doll Body
Finally, we can attach the two body panels together to form the felt doll child.
Begin by threading your needle with single strand of floss in a color that coordinates with the skin tone of your body panels. You will need several feet of string to make it all the way around your doll.
Starting near the hairline (where it will be easier to hide any final knots), begin by pushing your needle up only through the front body panel. By starting the string before sandwiching the two panels together you can hide any knots or loose strings.
Stack the two body panels, lining up the edges, and with the “right sides” facing out (Right sides are the sides you want to be showing at the end of the final project.). All the strings and mechanics should now be hidden as we put the final two pieces together.
Using a running stitch, make your way down around the first arm. Once you reach an area where there is a different color of fabric on the top of your body panel you’ll need to get a bit more “creative” with your stitch.
Still using a running stitch, push your needle up and down through the two layers of the BODY PANELS ONLY. You will have to work along the sides and under the loose edge of your bodysuit or hair pieces if you do not want the body colored thread to show as a topstitch.
Make your way around the remainder of the doll.
Finally, tie off the end of your string, and cut any threads. You should be able to hide the knot behind one of the hair panel pieces, but if you try the bonus step below, hiding your strings at this point will not need to be much of a concern.
If you decide not to proceed the bonus step then you are done! Enjoy your felt doll child and introduce it to the rest of the family. If you are using a two piece hairstyle and want a more finished look, then lets proceed….
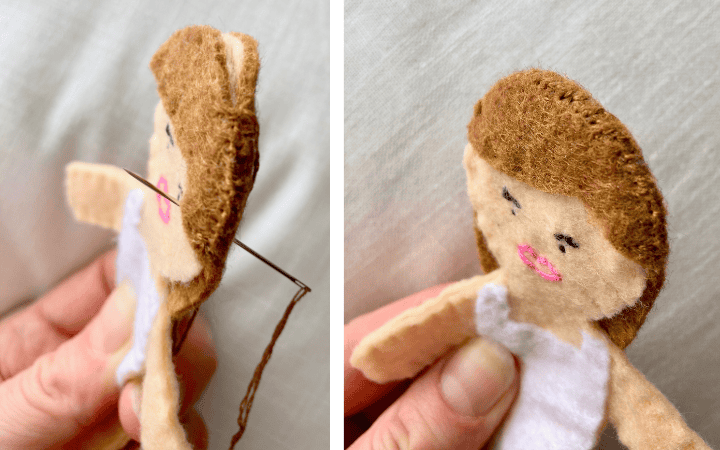
BONUS Step: Hiding The “Skin” in the “Hairline”
Please note that you will not need to apply this variation if you are using only a front hairstyle piece. This modification is intended to “tie” both front and back hair pieces together into a more seamless hairstyle.
Thread Your Needle
Begin by threading 2 or 3 strands of embroidery floss in the same color as what you used for attaching the hair pieces in step four.
Stitch the Hairline
Starting at one end of the hairline, begin sewing a tight whip stitch through all the layers of felt. You want the stitches to be close together for best coverage.
Using a whip stitch will also allow you to cover any long strands or knots from starting your string and from attaching the body pieces in the previous step.
Once you’ve made it around the hairline, tie off your string. You may choose to thread your needle back through under a section of the whip stitches (toward the crown of the head) before cutting off to hide any tail strings.
Felt Doll Child Pattern

*for personal or classroom use only.
Printing Instructions
Once you download the PDF pattern, be sure to print it with settings set to “fill the whole page”. The download is 8.5 x11 inches with margins for printing already built into the download. Print the image at 100%. The bar at the bottom of the pattern is for scale. When printed properly it should be one inch long. Printing to scale assures congruency among patterns. So the doll, clothing, and accessories all fit together properly.
More Felt Doll Patterns to Enjoy

Save this Pattern on Pintrest!
Thank you