Handmade magnetic felt dolls with internal magnets allowing felt dolls & accessories to seamlessly interact for more engaging play. In this tutorial you’ll find instructions on how to upgrade my basic felt doll pattern and tutorial into magnetic felt dolls.
This post will walk you through the steps to upgrade any of my felt dolls to include magnets.
You can find all the patterns and instructions for making a felt doll on my original post.
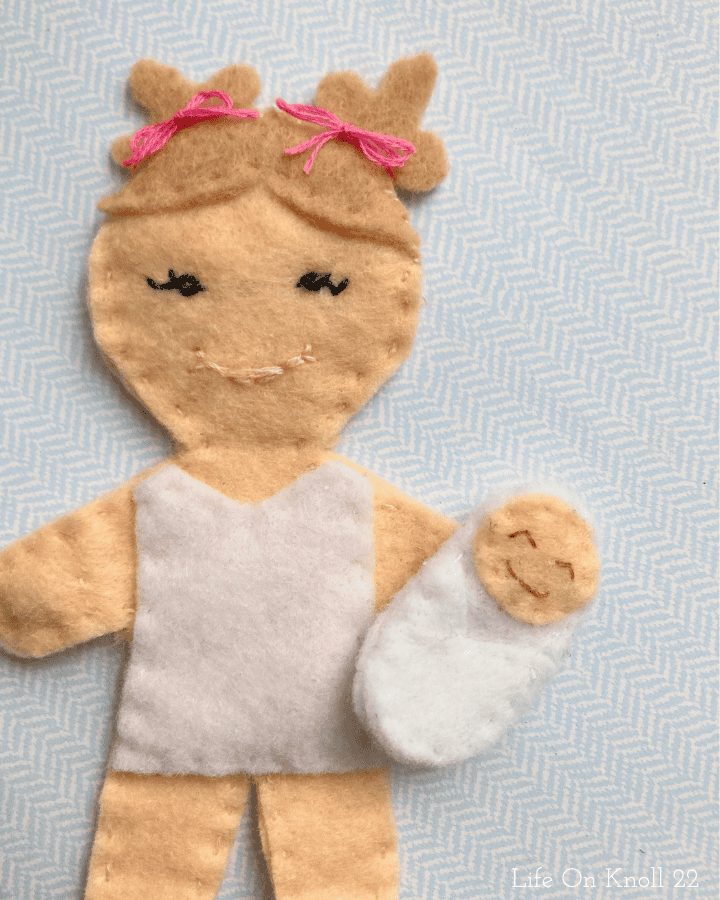
The doll above has been magnetized to securely hold a baby (also magnetized).
Why Magnetic Felt Dolls?
When I was creating the pattern for my first felt pocket pal (Farmer Rabbit), I came across the idea of including magnets in the design. This would allow the little pocket animals and accessories to connect with the magnetic walls of an Altoids tin.
After making the rabbit and his carrots I realized that the same magnets would greatly enhance the felt doll patterns which I had already created. Imagine being able to put items in their hands, hugging their felt babies, and even holding hands with each other!
Something great now had the potential to be even better. Instead of using Velcro, which can get caught on other items, magnets seemed like the perfect choice. Not only do they adhere to small metal tins, but anything in the world around us can become a magnetic doll playground. These dolls can now stick to the fridge! They can also be used to create play scenes on a cookie sheet.
How to Make Magnetic Felt Dolls
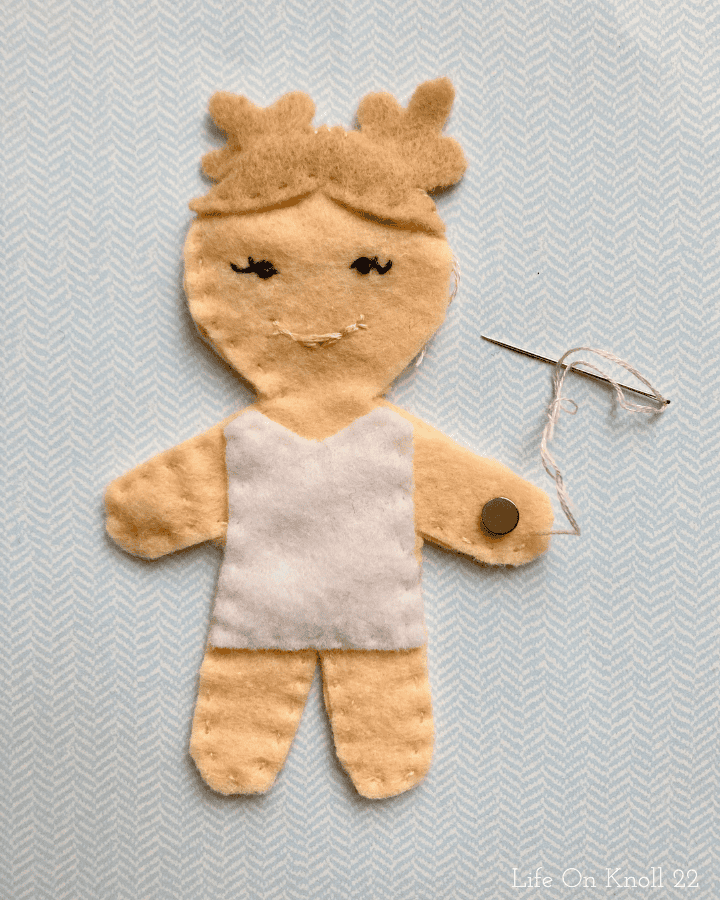
Supplies
- Two 6×2 mm rare earth magnets
- Felt (Skin Tones) (White)
- Embroidery Floss
- Needle
- Felt Doll PDF Pattern
Directions
Begin by sewing the body suit and face details in the original felt doll pattern & tutorial. When it is time to sew the two body panels together be sure to follow the changes below.
Add the Magnet
When you reach the arms, before completely closing off the appendage, slip a rare earth magnet into the top of the arm. Thing of where the “hand” would be.
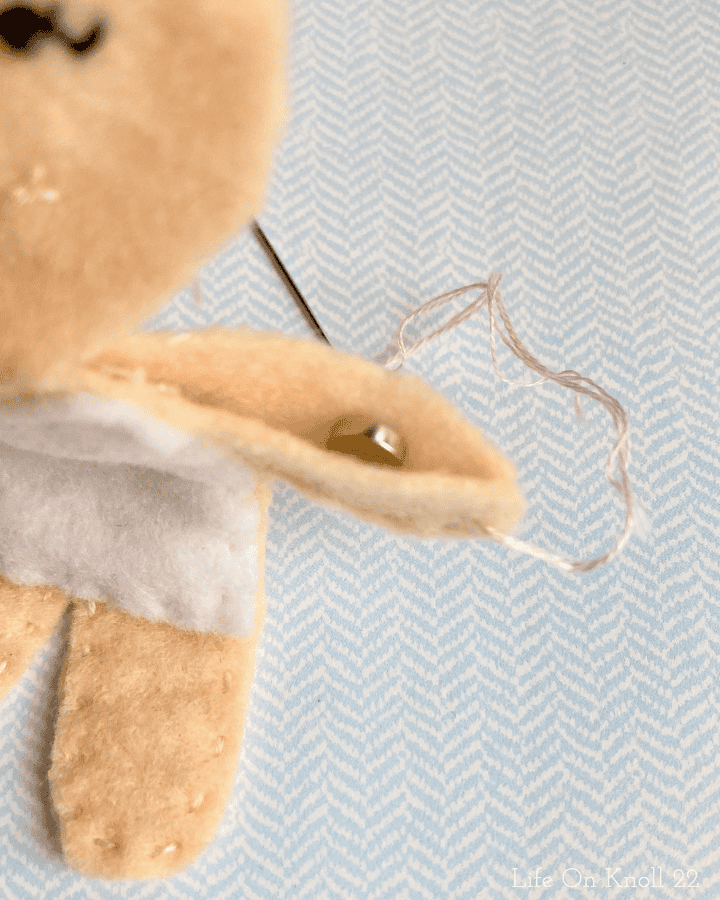
Check the Polarity
Since magnets have positive and negative ends, be sure the desired side of the magnet it pointing “up” or your accessories may repel instead of attract (or attach to the back of the hand).
Secure The Magnet
You will also need to include an extra stitch to prevent the magnet from sliding out of the hand and into the body during play. Do this once you have sewn around the entire tip of the arm, and have inserted the magnet. As you begin your stitch, only go through one layer of felt. Then, running the needle and floss between the layers of the body panel, choose a spot in the middle of the arm for your security stitch.
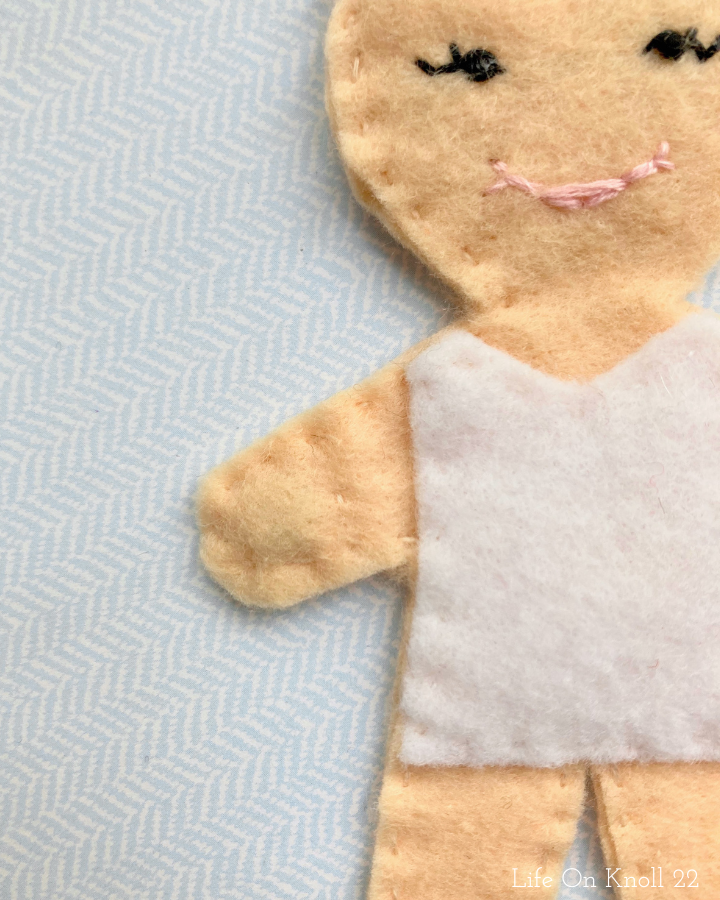
Bring the tip of your needle up through the single layer of felt, and make one (or two) small stitches. These stitches should be close enough to each other (and the outside stitches of the doll arm) that the magnet cannot slip between them.
Poke the top of your needle through a single layer again, and run the needle and thread between the body panel layers until your reach the place where you left off closing up the arm. This hides any strings inside the body, rather than having a large stitch and string visible in the final product. Resume sewing around the body.
Completing the Other Arm
Repeat the steps above when you reach the other arm.
Bonus
You could also choose to put magnets in the feet. At this time none of my patterns or accessories are designed for the foot. (But, you never know what may be coming in the future!)
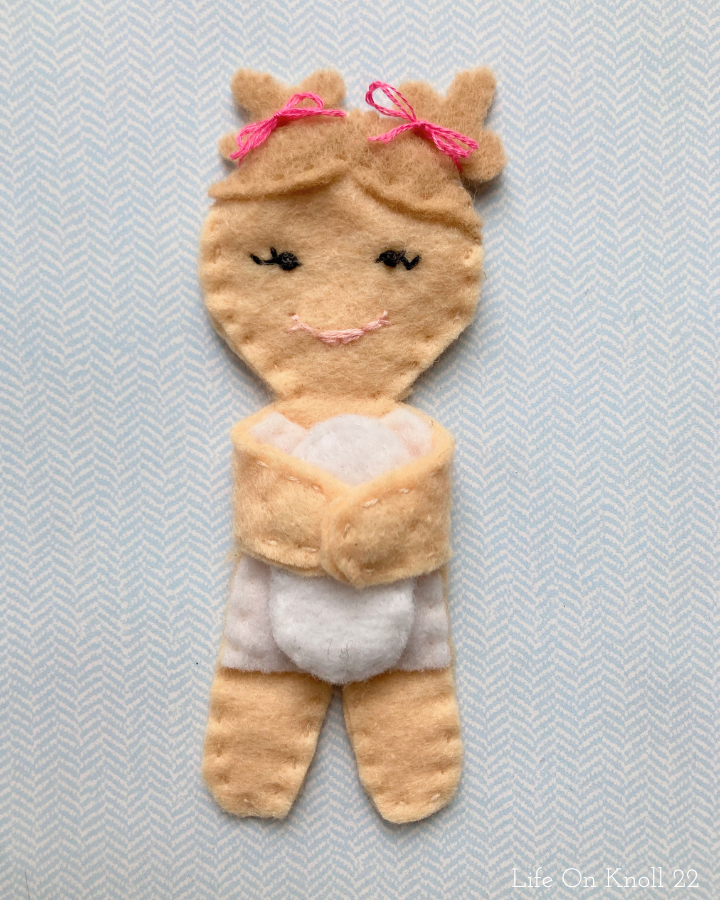
The doll above is holding a magnetized baby in a hugging position with the use of magnets in both hands.
Try these other magnetized felt patterns…


Leave a Reply